Create the Signup Form
Let’s start by creating the signup form that’ll get the user’s email and password.
Add the Container
 Create a new container at
 src/containers/Signup.js with the following.
import React, { Component } from "react";
import {
  HelpBlock,
  FormGroup,
  FormControl,
  ControlLabel
} from "react-bootstrap";
import LoaderButton from "../components/LoaderButton";
import "./Signup.css";

export default class Signup extends Component {
  constructor(props) {
    super(props);

    this.state = {
      isLoading: false,
      email: "",
      password: "",
      confirmPassword: "",
      confirmationCode: "",
      newUser: null
    };
  }

  validateForm() {
    return (
      this.state.email.length > 0 &&
      this.state.password.length > 0 &&
      this.state.password === this.state.confirmPassword
    );
  }

  validateConfirmationForm() {
    return this.state.confirmationCode.length > 0;
  }

  handleChange = event => {
    this.setState({
      [event.target.id]: event.target.value
    });
  }

  handleSubmit = async event => {
    event.preventDefault();

    this.setState({ isLoading: true });

    this.setState({ newUser: "test" });

    this.setState({ isLoading: false });
  }

  handleConfirmationSubmit = async event => {
    event.preventDefault();

    this.setState({ isLoading: true });
  }

  renderConfirmationForm() {
    return (
      <form onSubmit={this.handleConfirmationSubmit}>
        <FormGroup controlId="confirmationCode" bsSize="large">
          <ControlLabel>Confirmation Code</ControlLabel>
          <FormControl
            autoFocus
            type="tel"
            value={this.state.confirmationCode}
            onChange={this.handleChange}
          />
          <HelpBlock>Please check your email for the code.</HelpBlock>
        </FormGroup>
        <LoaderButton
          block
          bsSize="large"
          disabled={!this.validateConfirmationForm()}
          type="submit"
          isLoading={this.state.isLoading}
          text="Verify"
          loadingText="Verifying…"
        />
      </form>
    );
  }

  renderForm() {
    return (
      <form onSubmit={this.handleSubmit}>
        <FormGroup controlId="email" bsSize="large">
          <ControlLabel>Email</ControlLabel>
          <FormControl
            autoFocus
            type="email"
            value={this.state.email}
            onChange={this.handleChange}
          />
        </FormGroup>
        <FormGroup controlId="password" bsSize="large">
          <ControlLabel>Password</ControlLabel>
          <FormControl
            value={this.state.password}
            onChange={this.handleChange}
            type="password"
          />
        </FormGroup>
        <FormGroup controlId="confirmPassword" bsSize="large">
          <ControlLabel>Confirm Password</ControlLabel>
          <FormControl
            value={this.state.confirmPassword}
            onChange={this.handleChange}
            type="password"
          />
        </FormGroup>
        <LoaderButton
          block
          bsSize="large"
          disabled={!this.validateForm()}
          type="submit"
          isLoading={this.state.isLoading}
          text="Signup"
          loadingText="Signing up…"
        />
      </form>
    );
  }

  render() {
    return (
      <div className="Signup">
        {this.state.newUser === null
          ? this.renderForm()
          : this.renderConfirmationForm()}
      </div>
    );
  }
}
Most of the things we are doing here are fairly straightforward but let’s go over them quickly.
-
Since we need to show the user a form to enter the confirmation code, we are conditionally rendering two forms based on if we have a user object or not.
-
We are using the
LoaderButtoncomponent that we created earlier for our submit buttons. -
Since we have two forms we have two validation methods called
validateFormandvalidateConfirmationForm. -
We are setting the
autoFocusflags on the email and the confirmation code fields. -
For now our
handleSubmitandhandleConfirmationSubmitdon’t do a whole lot besides setting theisLoadingstate and a dummy value for thenewUserstate.
 Also, let’s add a couple of styles in
 src/containers/Signup.css.
@media all and (min-width: 480px) {
  .Signup {
    padding: 60px 0;
  }

  .Signup form {
    margin: 0 auto;
    max-width: 320px;
  }
}

.Signup form span.help-block {
  font-size: 14px;
  padding-bottom: 10px;
  color: #999;
}
Add the Route
 Finally, add our container as a route in
 src/Routes.js below our login route. We are using the AppliedRoute component that we created in the Add the session to the state chapter.
<AppliedRoute path="/signup" exact component={Signup} props={childProps} />
And include our component in the header.
import Signup from "./containers/Signup";
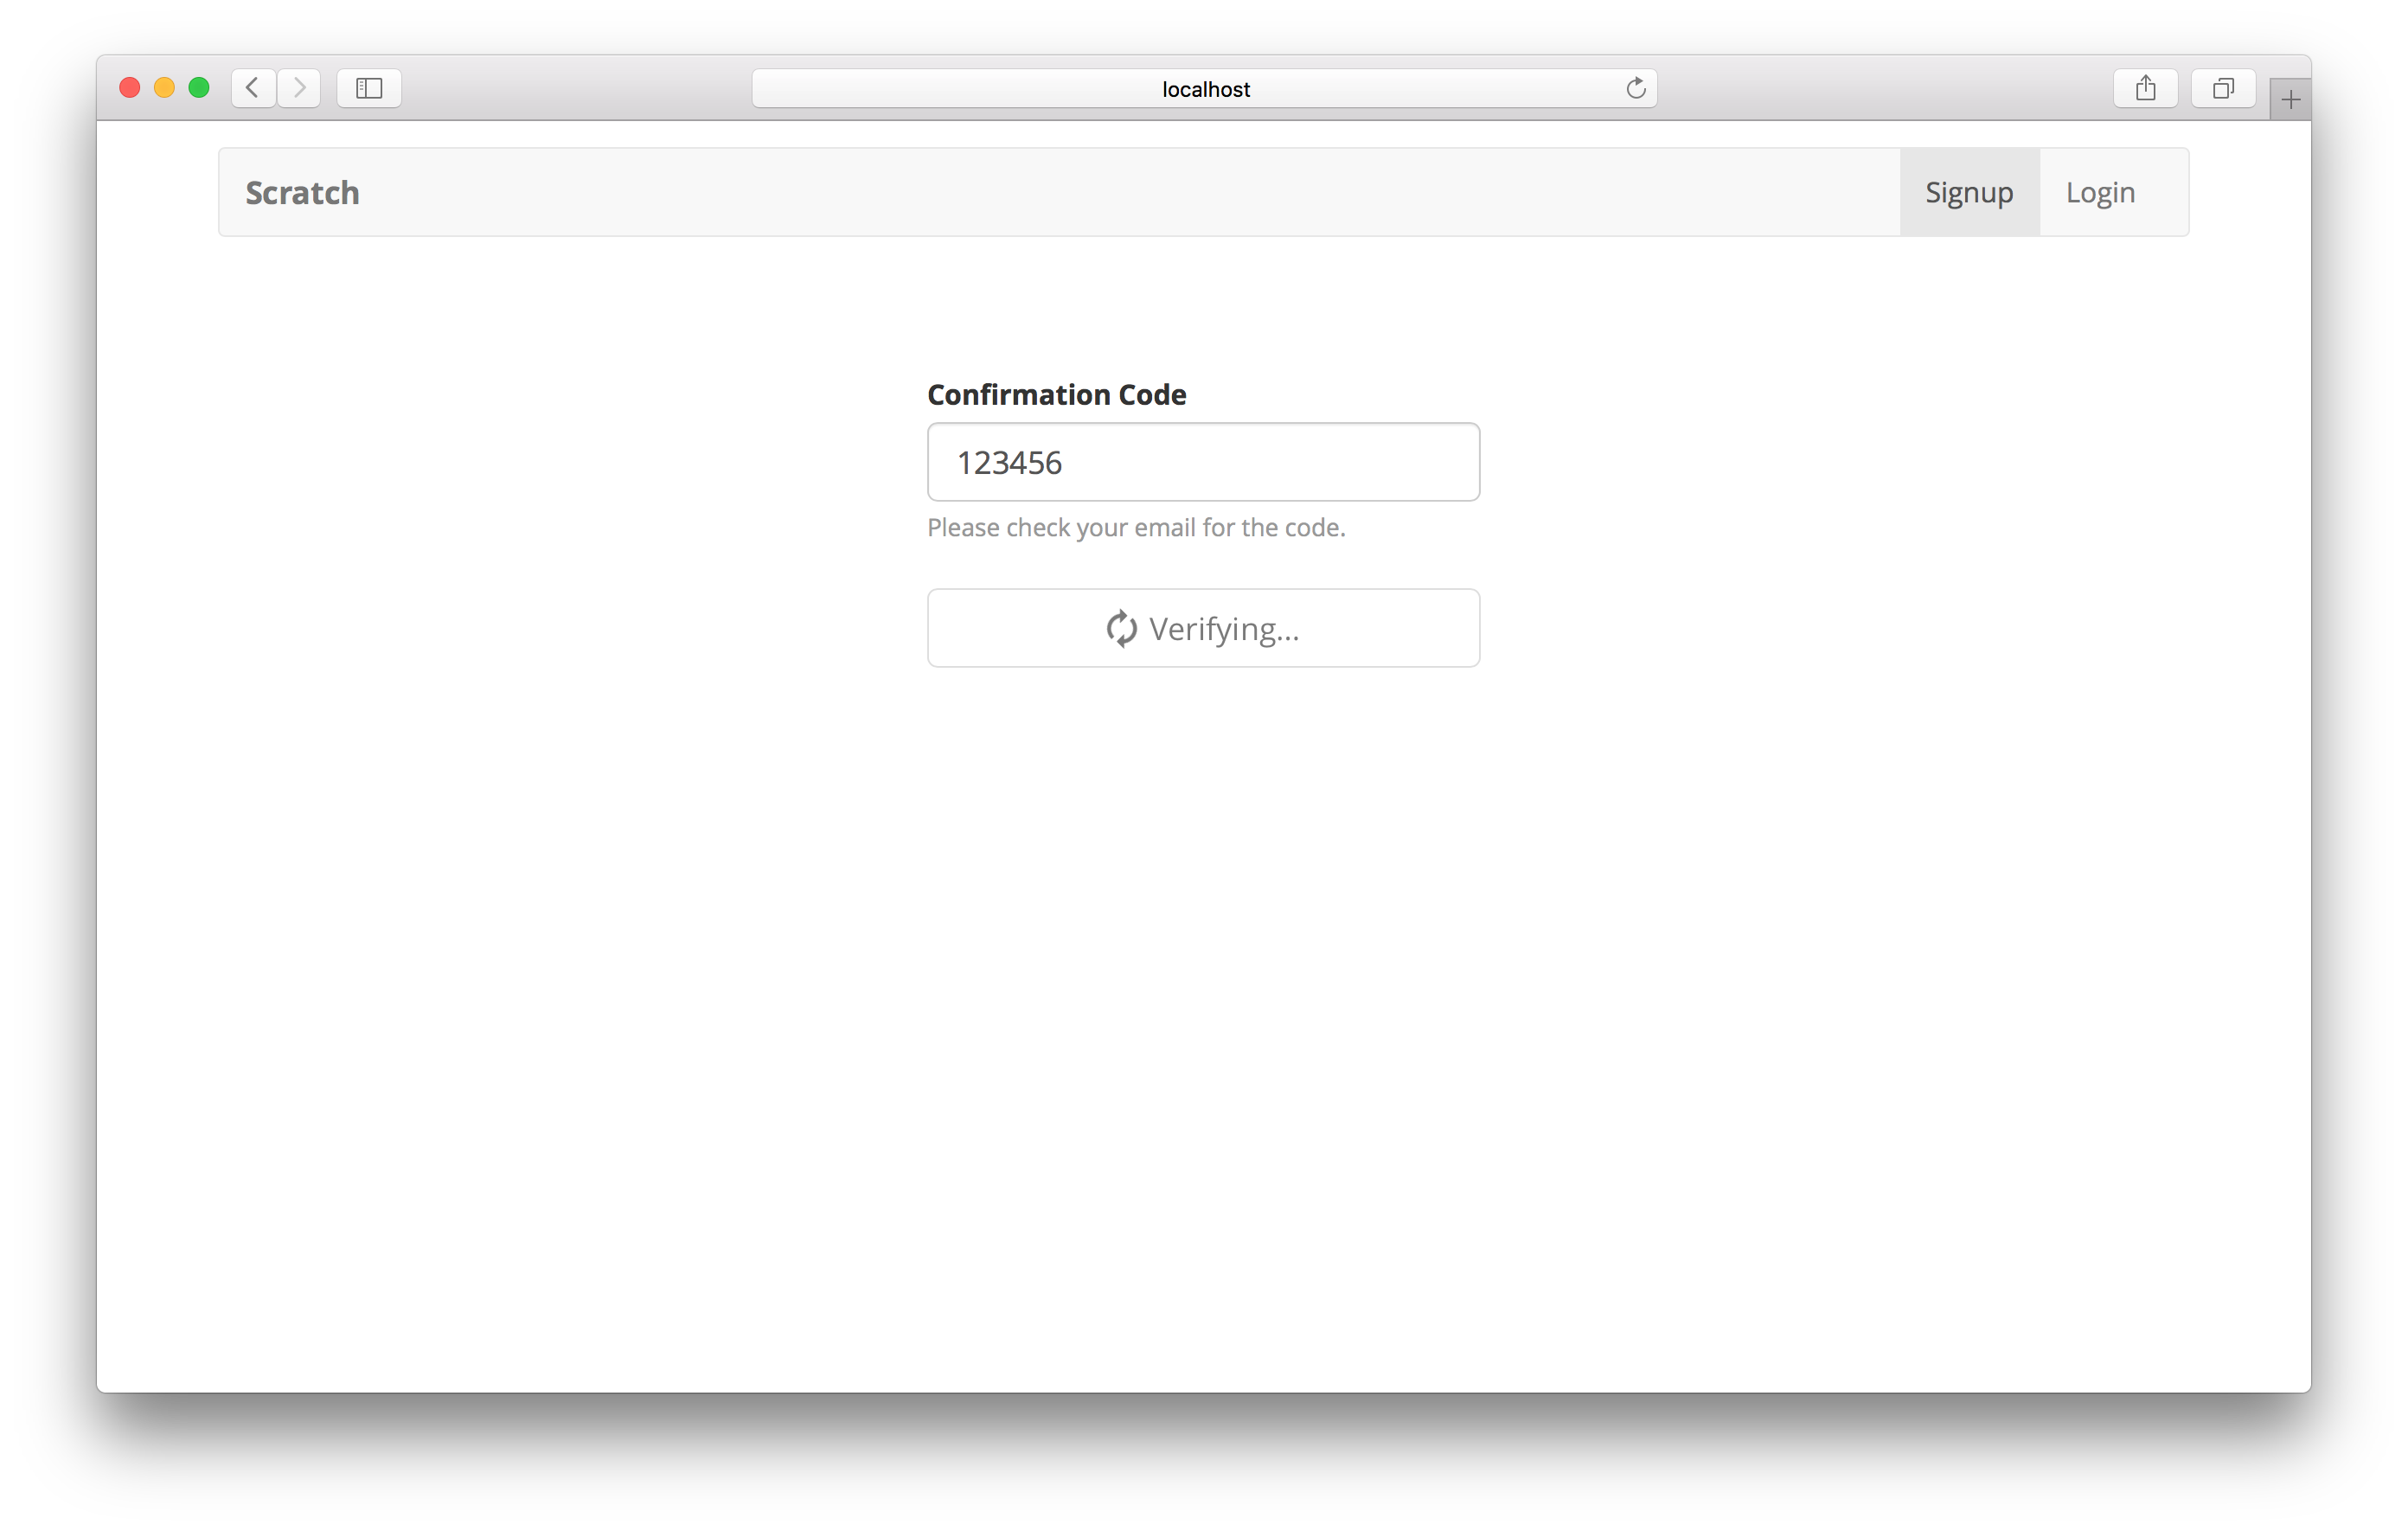
Now if we switch to our browser and navigate to the signup page we should see our newly created form. Our form doesn’t do anything when we enter in our info but you can still try to fill in an email address, password, and the confirmation code. It’ll give you an idea of how the form will behave once we connect it to Cognito.

Next, let’s connect our signup form to Amazon Cognito.
If you liked this post, please subscribe to our newsletter, give us a star on GitHub, and check out our sponsors.
For help and discussion
Comments on this chapter